 Save
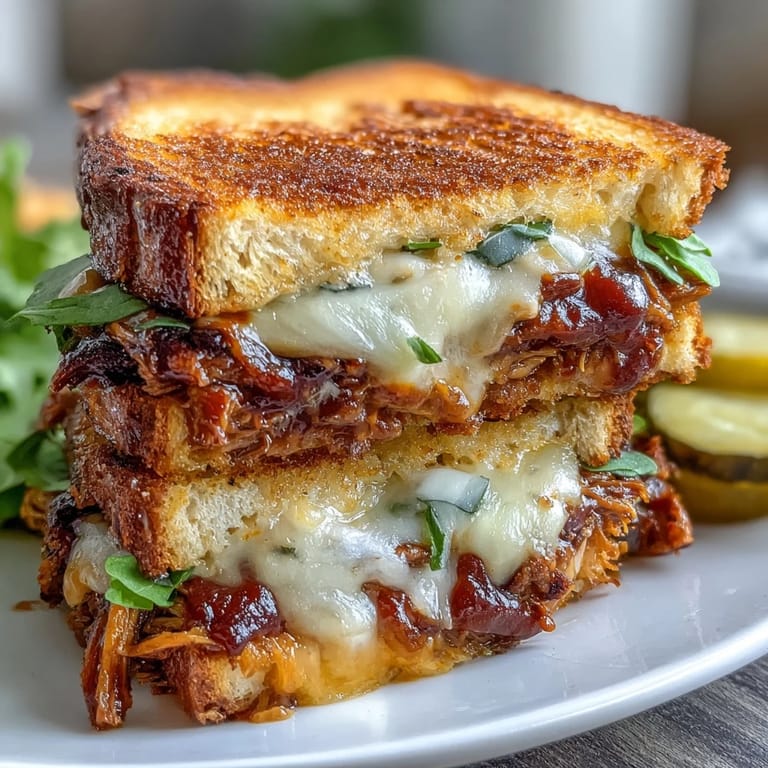
Save The crackle of bread browning in the pan brings an instant wave of anticipation, but nothing prepares you for the glorious moment you press down and melted cheese starts oozing out. The savory smell of BBQ pulled pork drifting through my kitchen once led my neighbor to knock on my door, just to ask what on earth I was making. There's something irresistible about transforming leftover pulled pork into a completely new comfort food, especially when cheese and buttery bread get involved. This sandwich has saved more than one lunch break from the ordinary and turned out to be the ultimate reward for a busy day. It's a dish born less from grand plans than pure, honest hunger and the contents of my fridge.
One rainy Saturday, I made a batch of these for friends who ended up lingering long past lunch. The kitchen was loud with the sound of laughter and the sizzle of sandwiches flipping in the pan, everyone shamelessly vying for the cheesiest slice. We nearly forgot about the storm outside, distracted by crispy corners and sticky fingers. I remember watching pickles disappear from the sandwich stack, proof that even skeptics can be converted to believers when barbecue meets grilled cheese. These sandwiches have seen everything from impromptu football gatherings to quiet dinners for one.
Ingredients
- Pulled pork: Go for pork that’s already well-seasoned and tender—it’s easier than starting from scratch and makes assembly a breeze.
- Barbecue sauce: Use your favorite, but don’t be afraid to try smoky or spicy blends for different moods.
- Sourdough or country-style bread: Thick, hearty slices hold up to the fillings and get that beautiful crunch when grilled.
- Softened butter: It’s non-negotiable for a crisp, golden crust—let it sit out while you prep everything else.
- Shredded sharp cheddar cheese: The punchy flavor is what gives the sandwich its gooey, melty core.
- Shredded mozzarella cheese: Adds soft stretchiness, so every bite pulls away with satisfaction.
- Red onion, thinly sliced (optional): A little bite and color goes a long way if you want something fresh in each mouthful.
- Pickles (optional): For those who love a tangy crunch—just a few slices brighten up the richness of the pork and cheese.
Tired of Takeout? 🥡
Get 10 meals you can make faster than delivery arrives. Seriously.
One email. No spam. Unsubscribe anytime.
Instructions
- Toss and warm the pork:
- Combine pulled pork with barbecue sauce in a bowl, then warm it gently in a skillet for a couple of minutes so it’s tender and steamy.
- Prep your bread:
- Butter one side of each slice and line up four pieces, buttered side down, on your work counter; this is your foundation.
- Add layers of cheese and pork:
- Sprinkle on generous helpings of cheddar and mozzarella, followed by a scoop of that glossy, sauced-up pulled pork. If you’re an onion or pickle fan, now’s the time to tuck those in.
- Sandwich assembly:
- Top each filled slice with another piece of bread, keeping the buttered side up so it crisps in the pan.
- Grill until glorious:
- Heat a skillet or griddle over medium-low, and cook the sandwiches 3–4 minutes per side—the bread should be golden and the cheese fully melted.
- Rest, slice, and serve:
- Let the sandwiches rest for a minute after grilling (it helps hold everything together), then slice and serve while they’re piping hot.
 Save
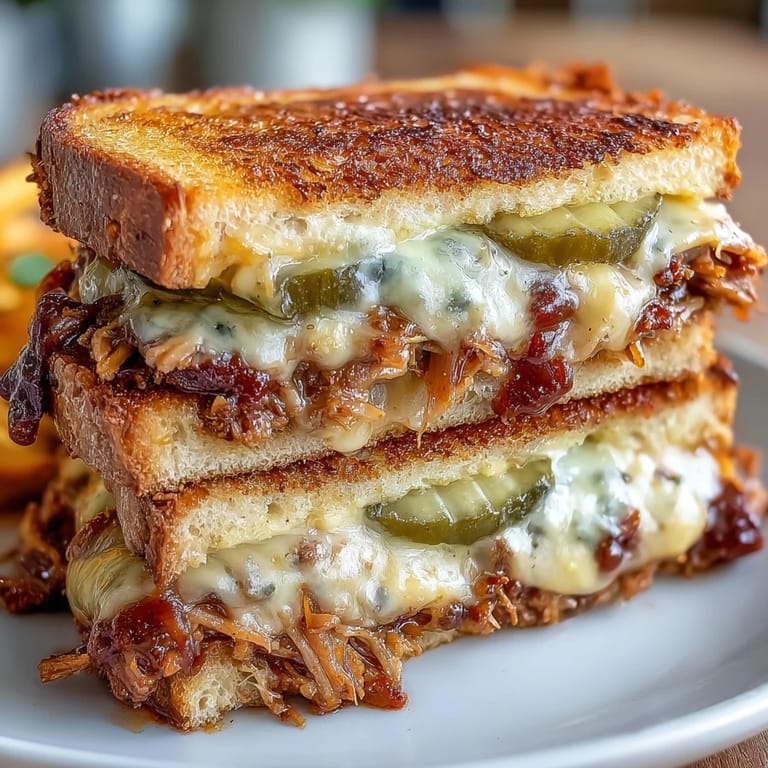
Save At my last family picnic, these sandwiches disappeared before I could snap a photo, but what I remember most is my niece’s cheesy grin and a tug-of-war over the last crunchy corner. Plates were wiped clean, and there was a unanimous vote to make these a regular fixture at family get-togethers. Sometimes, the simplest comfort food can turn into the memory everyone hopes to repeat.
Making Amazing Grilled Cheese Every Time
One thing I learned after a few trial runs: patience is a secret ingredient. Letting the bread toast slowly gives maximal crunch without scorching the outside before the cheese melts. Flipping with a wide spatula helps keep all those layers intact, even if you tend to overstuff (guilty as charged).
Your BBQ Pulled Pork Options
Use leftovers from last night’s barbecue, or grab some from your favorite takeout spot to save time—either way, mix in the sauce right before grilling for the boldest flavor. If you like heat, try a spicy sauce or add a pinch of chili flakes to the pork as it warms up. You could even sneak in a spoonful of coleslaw inside the sandwich for a little crunch, if you’re feeling adventurous.
Little Sandwich Upgrades
Toasting the bread on both sides before assembling can level up the texture, especially if you love things ultra-crispy. Sometimes adding smashed pickled jalapeños gives a mischievous zing that keeps people guessing. Melted smoked gouda is a recent obsession for my sandwiches—it adds a new layer of flavor that had my friends demanding the “recipe secret.”
- Don’t overload the sandwich, or it’ll be tricky to flip.
- Wipe the pan between batches for even browning.
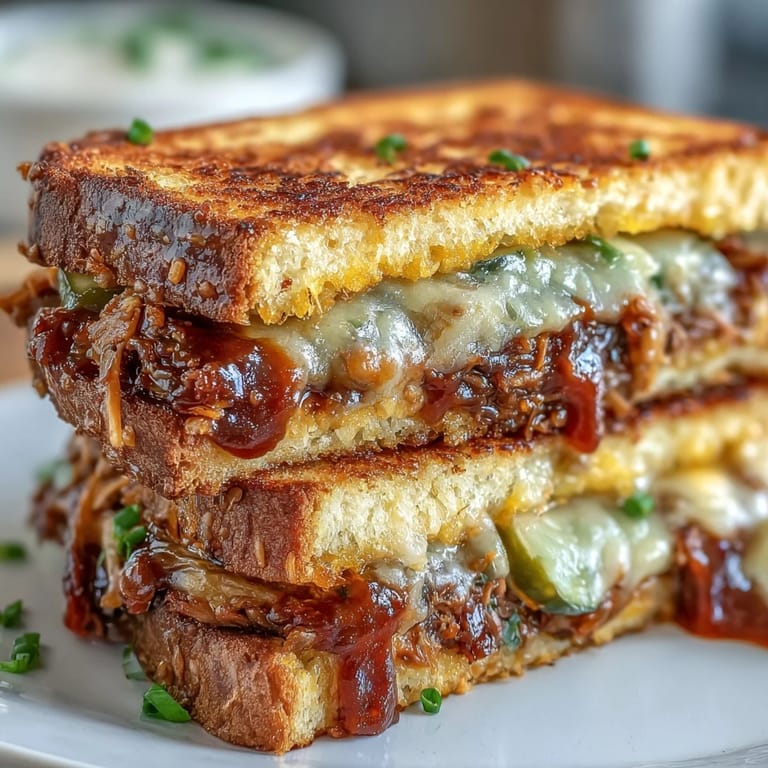
- Let your sandwich sit a minute before slicing for perfect, gooey halves.
 Save
Save I hope this sandwich finds its way into your week and leaves you licking your fingers, just like every guest at my table. Happy grilling and enjoy every crunchy, cheesy, smoky bite.
Recipe Questions & Answers
- → What type of bread is best for this sandwich?
Thick-cut sourdough or country-style bread holds up well to the fillings and achieves a perfect golden crust when grilled.
- → Can I use a different cheese besides cheddar and mozzarella?
Yes, smoked gouda or provolone are great alternatives to add depth and extra creaminess to the sandwich.
- → What is the benefit of warming the pulled pork before assembling?
Warming the pork ensures an even melt and helps the cheese blend seamlessly with the savory filling.
- → Are there any vegetable add-ins that work well?
Thinly sliced red onions and pickles add tang and texture; try adding jalapeños for a spicy kick.
- → How do I prevent a soggy sandwich?
Use well-drained pulled pork and butter your bread thoroughly before grilling for a crisp, golden crust.
- → Can leftovers be reheated?
Yes, reheat in a skillet over low heat to maintain crispness without drying out the fillings.