 Save
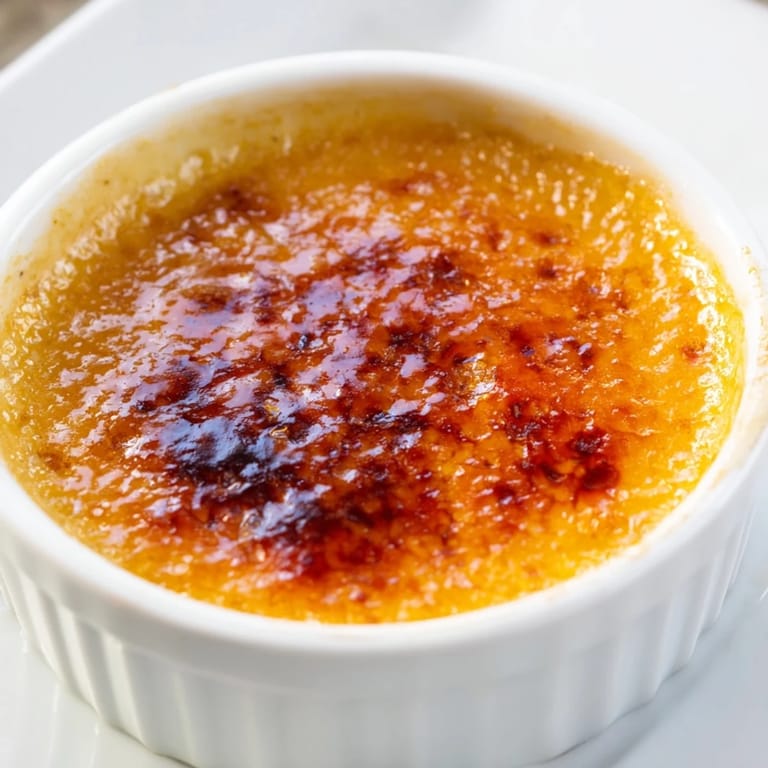
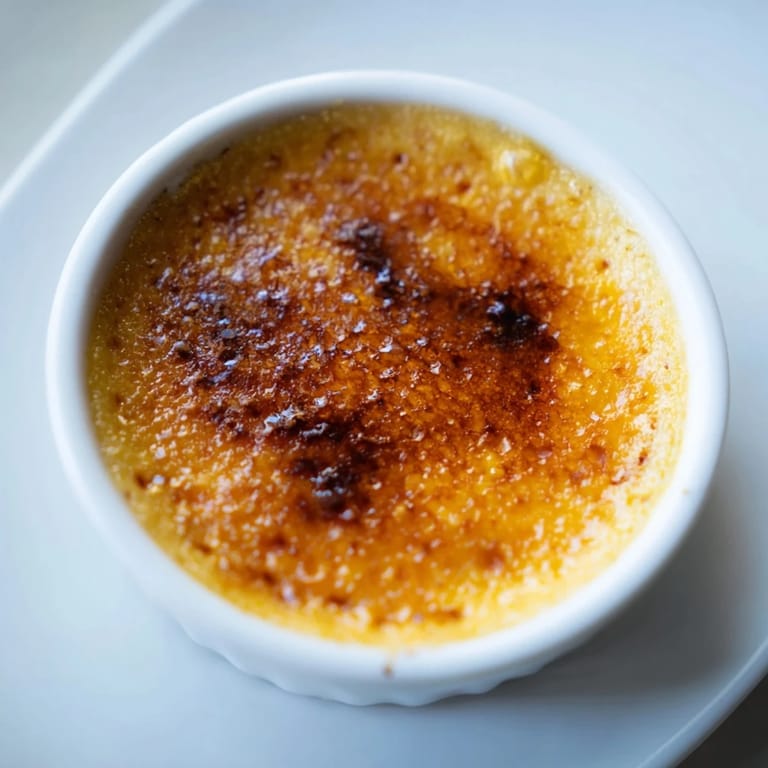
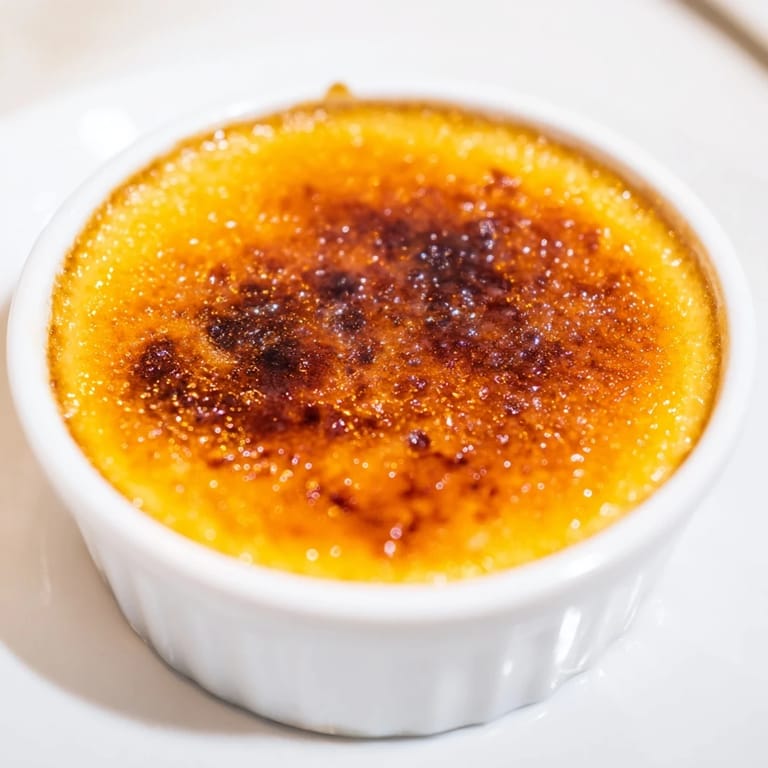
Save There's something about the sound of a kitchen torch crackling to life that makes me feel like I'm doing something actually difficult. The first time I made crème brûlée, I was convinced I'd need culinary school credentials just to approach it, but then a friend casually mentioned it was just three ingredients and suddenly the mystique evaporated. What remained was pure elegance: a silky custard that quivers under a spoon, topped with a caramelized crust that shatters under gentle pressure. That contrast, that surprise of sound and texture, is what keeps me coming back to this dessert.
I made this for someone who claimed they didn't eat desserts, just out of stubbornness. When they cracked through that caramelized shell and tasted the cool, creamy center beneath, their whole face changed. They went quiet for a moment, which I've learned is the highest compliment you can get. I made it three more times that month because they couldn't stop asking about it.
Ingredients
- Heavy cream (2 cups): The foundation of everything—it needs to be real cream, not the ultra-pasteurized kind that tastes thin and hollow. Good cream brings richness that feels luxurious without being overwhelming.
- Egg yolks (4 large): These create the silky texture that makes crème brûlée special, not a custard tart or pie filling. Room temperature yolks blend more smoothly and avoid those little scrambled bits.
- Granulated sugar (1/2 cup plus 4 tablespoons): The first half dissolves into the custard for subtle sweetness, while the topping sugar transforms into that glassy, crackling crown that defines the whole experience.
Tired of Takeout? 🥡
Get 10 meals you can make faster than delivery arrives. Seriously.
One email. No spam. Unsubscribe anytime.
Instructions
- Warm the cream gently:
- Heat your cream over medium heat until you see steam rising and tiny bubbles forming at the edges, but pull it off before it actually boils. This takes about 3-4 minutes and teaches you the difference between hot and boiling—a distinction that matters in custards.
- Whisk yolks and sugar until pale:
- This step looks simple but it's working the sugar into the yolks so they're slightly thickened and pale yellow, which takes a couple of minutes of honest whisking. You're aerating them slightly and dissolving the sugar enough so it doesn't grit between your teeth later.
- Temper the eggs slowly:
- This is where patience saves you—pour the warm cream in a thin stream while whisking constantly, as if you're being very deliberate about not scrambling eggs. If you dump it all in at once, you'll have sweet scrambled eggs, which is nobody's favorite dessert.
- Strain for silk:
- Push the mixture through a fine sieve and you'll catch any tiny cooked bits or unmixed egg strings. This extra step is the difference between velvet and slightly grainy, and it takes thirty seconds of your time.
- Fill and set up the water bath:
- Divide the custard among four ramekins, then nestle them in a deeper baking dish filled with hot water that comes halfway up their sides. The water bath keeps the edges from cooking too fast while the centers stay tender.
- Bake until just set:
- Bake at 325°F for 30-35 minutes—you're looking for custards that jiggle slightly in the very center when you gently shake the ramekin, like they're still thinking about setting. They'll continue firming as they cool, so don't overbake them or you'll lose that silky texture.
- Chill thoroughly:
- Let them cool to room temperature first, then refrigerate for at least an hour, though overnight is even better. Cold custards hold their structure better and the flavors develop.
- Torch the sugar top:
- Right before serving, sprinkle an even tablespoon of sugar over each custard and use a torch to caramelize it until it's deep amber and crispy. Hold the torch a few inches away and move it steadily so it colors evenly instead of burning one spot black.
 Save
Save The real magic happened when I realized this dessert is about anticipation as much as taste. The moment before you crack through that caramelized shell, when someone leans in with their spoon, is when they're already imagining what's underneath. You've built that moment with three ingredients and a little patience.
Why This Recipe Works
Crème brûlée succeeds because it trusts simplicity. There's nowhere to hide—no vanilla, no chocolate, no complicated layering to distract from the fact that you've made something fundamentally delicious. The technique matters more than the ingredients, which means once you understand the why behind each step, you can make this in your sleep. I've made it dozens of times now and it never disappoints because there are so few moving parts that something would have to go dramatically wrong.
The Temperature Lesson
I learned the hard way that tempering eggs is not about speed or boldness—it's about temperature control. When I first made this, I got impatient and poured hot cream directly into cold eggs and ended up with sweet scrambled eggs that cost me an hour of cleanup and my confidence for a day. Now I understand that slowly raising the temperature of eggs teaches them to gently set without panicking. It's a principle that shows up in other custards, sauces, and creams, so learning it here pays dividends everywhere.
Serving and Customization
The classic version is perfect on its own, but I've learned a few variations that keep this recipe from getting stale. A vanilla bean scraped into the cream before heating adds floral warmth without changing the core recipe. Lemon or orange zest steeped in the warm cream brings brightness that cuts through the richness beautifully. Even just serving with fresh berries on the side gives people something to compare the smooth custard against.
- Make these up to two days ahead and caramelize the tops just before serving so they stay crisp.
- If you're serving a crowd, scale up easily—four ramekins becomes eight, sixteen, whatever you need.
- Room temperature hands are gentler on the torch than cold ones, so if your hands are chilly, run them under warm water first.
 Save
Save This dessert taught me that sometimes the fanciest thing you can do in a kitchen is get out of the way and let good ingredients speak. Every time someone tastes crème brûlée, they're tasting restraint and technique, which is its own kind of magic.
Recipe Questions & Answers
- → What causes the custard to have a silky texture?
Gently heating the cream and carefully combining it with beaten egg yolks prevents curdling, resulting in a smooth and creamy custard.
- → How do you achieve a crisp caramelized topping?
Sprinkle granulated sugar evenly over the chilled custard and caramelize it using a kitchen torch or broiler until golden and crisp.
- → Can I infuse flavors into the custard?
Yes, adding vanilla bean or citrus zest to the cream before heating infuses delicate flavors into the custard.
- → Why bake the custard in a water bath?
The water bath provides gentle, even heat that helps the custard set smoothly without cracking or curdling.
- → How long should the custards chill before caramelizing?
Chill the custards for at least one hour to allow them to set completely and develop a firm texture suitable for the caramel topping.