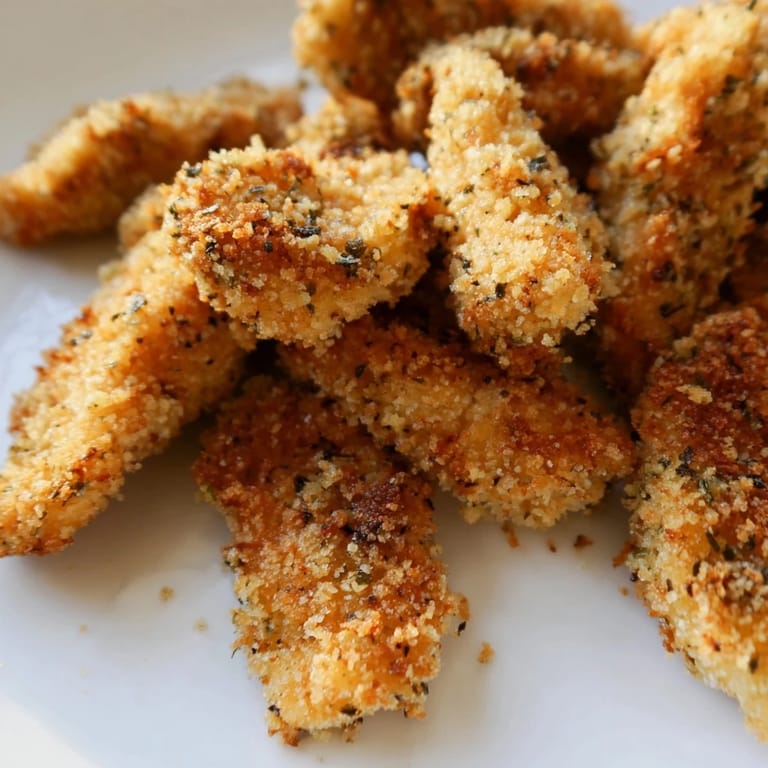
 Save
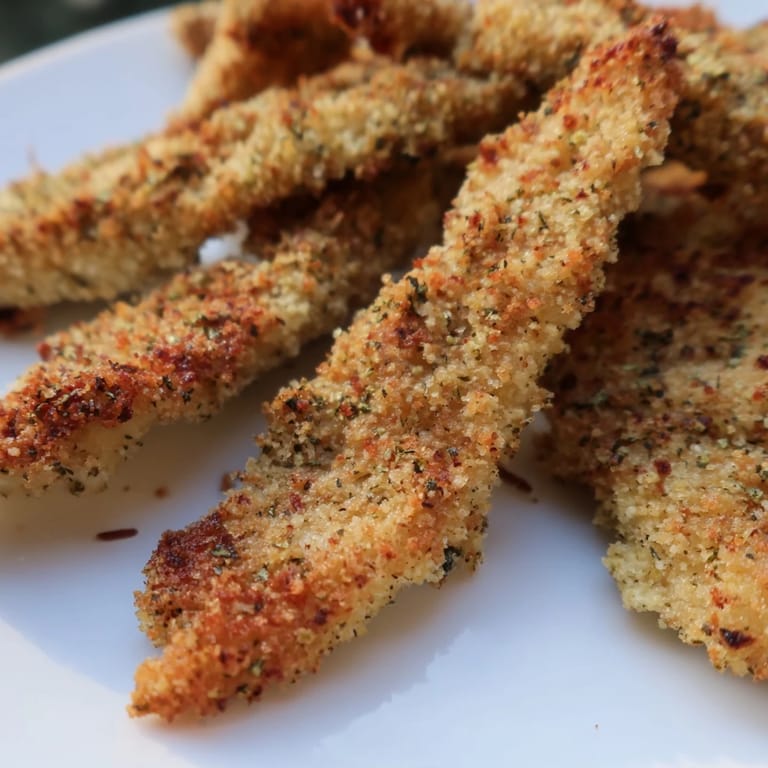
Save My daughter was standing on a chair beside me, elbows on the counter, watching the panko fall like snow over the chicken. She asked if she could help press the crumbs down, and I handed her a strip. Her little fingers worked carefully, determined to make it perfect. That quiet Tuesday became one of those nights we both remember, not because anything grand happened, but because she felt like part of something real in the kitchen.
I started making these strips on weeknights when I needed something foolproof that still felt special. The first time, I served them with a pile of roasted vegetables and honey mustard, and my husband looked up mid-bite and said they tasted better than anything we'd ordered out. I've made them dozens of times since, tweaking the spices, testing different coatings, and they've never let me down. They're the kind of recipe that makes you look more skilled than you actually are.
Ingredients
- Boneless, skinless chicken breasts or tenders (500 g): Tenders cook more evenly and stay juicier, but breasts work beautifully when sliced into uniform strips.
- Salt (1/2 tsp) and black pepper (1/4 tsp): Season the chicken directly so every bite has flavor, not just the coating.
- All-purpose flour (100 g): The first layer helps the egg mixture cling and creates a foundation for the panko to stick.
- Large eggs (2) and mayonnaise (2 tbsp): The mayo adds richness and helps the coating stay put, even when flipped halfway through baking.
- Panko breadcrumbs (120 g): Japanese-style panko is lighter and crispier than regular breadcrumbs, and it browns beautifully in the oven.
- Dried Italian herbs (1 1/2 tsp): A blend of oregano, thyme, and basil adds warmth without overpowering the chicken.
- Garlic powder (1/2 tsp), smoked paprika (1/2 tsp), and cayenne pepper (1/4 tsp, optional): These bring subtle depth and a hint of smokiness, with cayenne for those who like a little heat.
- Olive oil (2 tbsp): A light drizzle or spray before baking is what turns the panko golden and crisp.
Tired of Takeout? 🥡
Get 10 meals you can make faster than delivery arrives. Seriously.
One email. No spam. Unsubscribe anytime.
Instructions
- Preheat and prep your sheet:
- Set your oven to 220°C (425°F) and line a baking sheet with parchment paper, or better yet, place a wire rack on top for air circulation. This small step makes all the difference in getting the bottom as crispy as the top.
- Cut and season the chicken:
- Pat the chicken completely dry with paper towels, then slice into strips about 2 cm wide so they cook evenly. Season both sides with salt and pepper right on the cutting board.
- Set up your breading station:
- Use three shallow bowls: one with flour, one with eggs whisked together with mayonnaise until smooth, and one with panko mixed with herbs, garlic powder, paprika, and cayenne. Line them up in order so you can move quickly.
- Coat each strip:
- Dredge a chicken strip in flour and shake off the excess, dip it into the egg mixture until fully coated, then press it into the panko, turning to cover all sides. Place it on the prepared sheet and repeat with the rest.
- Drizzle with oil and bake:
- Lightly drizzle or spray the coated strips with olive oil, then bake for 18 to 22 minutes, flipping them halfway through. They're done when golden and the internal temperature reads 74°C (165°F).
- Rest before serving:
- Let the strips cool on the sheet for 2 to 3 minutes so the coating sets and stays crispy. Serve them warm with your favorite dipping sauce.
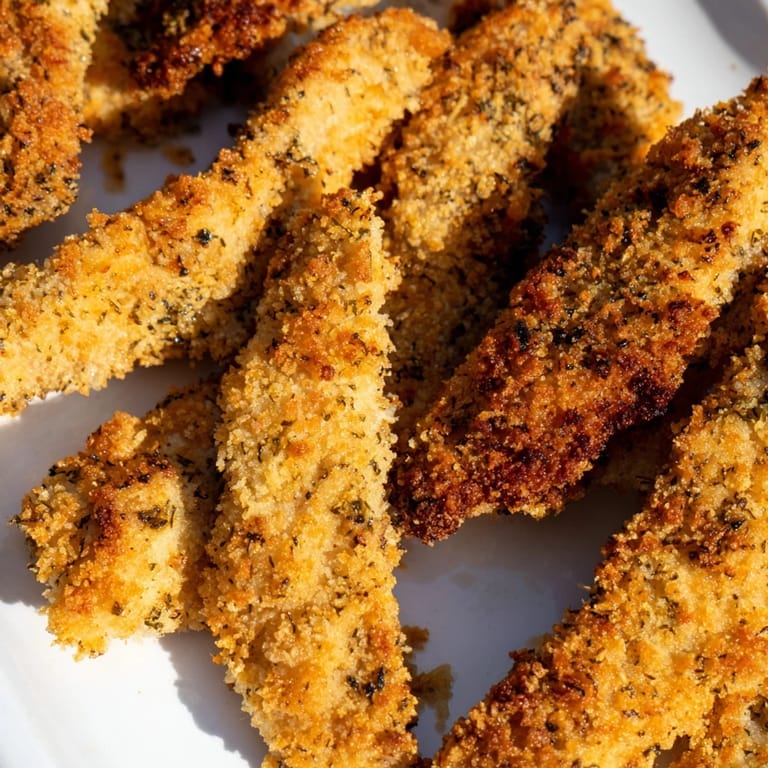
 Save
Save One evening, I packed these strips into a container with some raw veggies and ranch for a potluck at a friend's house. I wasn't sure how they'd hold up, but they stayed crispy even after sitting out for a bit. A neighbor asked for the recipe, and I realized these had quietly become one of my most reliable dishes, the kind that works whether you're feeding toddlers or impressing guests who don't know you made them in under 40 minutes.
Serving Suggestions
These strips are great on their own, but they shine when paired with the right sides and sauces. I like to serve them with honey mustard for sweetness, ranch for classic comfort, or spicy sriracha mayo when I want a little kick. A simple side salad, roasted sweet potatoes, or even a pile of crispy fries turns this into a full meal. If you're drinking, a crisp Sauvignon Blanc or a cold lager complements the flavors without competing.
Storage and Reheating
Leftovers keep well in an airtight container in the fridge for up to three days. To reheat, skip the microwave, it makes the coating soggy. Instead, pop them back in a 200°C (400°F) oven for about 8 minutes, and they'll crisp right back up. You can also freeze the cooked strips in a single layer, then transfer them to a freezer bag. Reheat from frozen at 220°C (425°F) for 15 to 18 minutes.
Variations and Swaps
This recipe is easy to adjust based on what you have or what you're craving. For a gluten-free version, use gluten-free panko and flour, they work just as well. If you want extra richness, add a couple tablespoons of grated Parmesan to the panko mixture. Greek yogurt can replace the mayonnaise for a lighter, tangier coating. You can also experiment with the spices, try adding cumin and chili powder for a Southwestern twist, or swap the Italian herbs for za'atar for something unexpected.
- For spicier strips, double the cayenne or add a pinch of red pepper flakes to the panko.
- Try using chicken thighs instead of breasts for a juicier, more forgiving result.
- If you're cooking for a crowd, double the recipe and use two baking sheets, just rotate them halfway through.
 Save
Save These chicken strips have earned their spot in my regular rotation, and I hope they do the same for you. There's something satisfying about pulling a pan of golden, crispy chicken out of the oven and knowing everyone's going to be happy.
Recipe Questions & Answers
- → How do I ensure maximum crispiness?
Use a wire rack or parchment-lined baking sheet to allow air circulation underneath. Lightly drizzle or spray with olive oil before baking, and flip halfway through cooking. Let cool 2-3 minutes after baking to set the coating.
- → Can I make these ahead of time?
Yes, you can coat the chicken strips and refrigerate them for up to 8 hours before baking. You may need to add 2-3 minutes to the cooking time if baking from cold. Cooked strips can be reheated in a 180°C oven for 5-7 minutes.
- → What are good dipping sauce options?
Honey mustard, ranch dressing, and spicy sriracha mayo are excellent choices. You can also try barbecue sauce, teriyaki glaze, or a simple lemon-herb yogurt sauce for variety.
- → How do I make this gluten-free?
Substitute all-purpose flour with gluten-free flour and use gluten-free panko breadcrumbs. Always verify that your mayonnaise or yogurt and spice blends are certified gluten-free to avoid cross-contamination.
- → Can I add extra flavor to the panko coating?
Absolutely. Mix grated Parmesan cheese, crushed herbs, or additional spices like dry mustard into the panko mixture. You can also add lemon zest or a touch of honey to the egg mixture for subtle flavor enhancement.
- → What's the best way to check if chicken is fully cooked?
Use a meat thermometer to verify the internal temperature reaches 74°C (165°F) at the thickest part. Alternatively, cut into the largest piece to ensure no pink remains inside.